Madison Avenue

Thursday, August 27, 2015

Summer Crafting!

Wow, summer went by way TOO fast! With vacations, computer problems (still ongoing), printer problems (still ongoing), iPad problems (I had to do a complete reset and I ended up losing ALL of the hundreds of photos on it :'( ), I feel like I accomplished a whole lot of nothing most days. But here's what I've been up to since May.

In June, an internet friend (whom I've never met in person!) had a pretty major surgery so I made her a get well card. The layout was inspired by a card I found online at AmazingPaperGrace.com using this stamp set from Inkadinkado.  Becca Feeken makes some absolutely amazingly beautiful cards. Go check her out.


I made some 4th of July shirts for my daughter and her friend who were spending the day together and wanted matching shirts.


 I also made a 4th of July shirt with dogs on it for my dog loving friend and a shirt for myself!


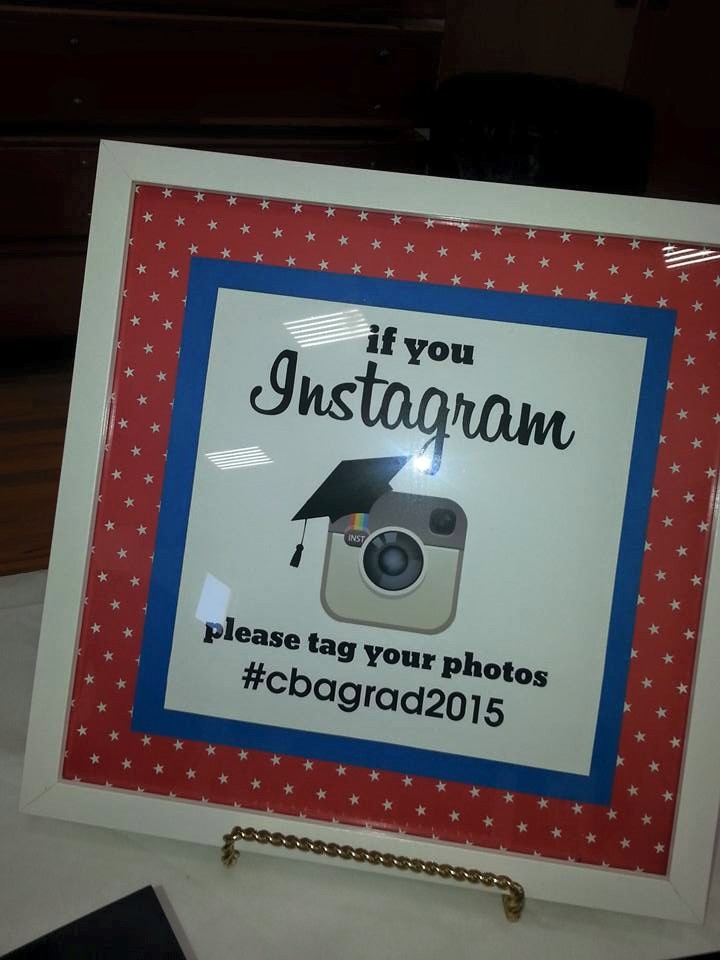
I posted them on Instragram and was thrilled when Siser North America (the company that makes the heat transfer vinyl I use) saw it and regrammed it!!


An old high school friend now living on the west coast had a birthday mid-July and I wanted to use a new Stampin' Up stamp set I had to make her a birthday card.


This set is called "Big Day" and was a Sale-a-Bration promotion item with qualifying purchase. The inside says "and perhaps a little ice cream."

Also in July, another wonderful internet friend (again whom I've never actually met in person!) graduated from nursing school.  She is such an inspiration to me.  She is a single mom of three kids, holds down two jobs, homeschools, goes to school full time and also shuttles her kids to their various extracurricular activities.  All on her own. I don't know how she does it. I ordered this stamp just to make her a card because I thought it was the perfect sentiment. "She believed she could so she did."  Congratulations Fanchon.


I guess I was into the pink/black combination at the time I made those cards! July is a blur and I don't know where it went. I think I started several projects but never fully completed anything. A week or so into August, my daughter talked me into painting/redecorating her room.  It was transformed from bubble gum pink to a bluish-greenish color called "sparkling brook." It is still a work in progress and I have some more ideas for decorations.  I did make some (no sew!) pillows and I just love this one with the "dream on dreamer" phrase in gold vinyl. 


Have you priced decorative pillows lately?? Wow. $25 - $40.  No way. I think mine are way cuter than most of the ones we saw in stores anyway!

I had picked up some plain tanks this summer that I told my daughter I would decorate for her, so we found some cute designs and I made them this week.


Now that school has started back, I am trying to be more structured with my days: housework, exercise, craft time. (Although not always in that order!) I've got some exciting things I'll be working on in the next several months so stay tuned!


 photo BlogSignature_zpsjpf5glhd.png

Saturday, July 4, 2015

Graduation 2015

So clearly I'm not too good at this blogging stuff! I've been doing a good bit of crafting, just not blogging about it.

In May, my son graduated from high school. I created some announcement covers and matching thank you cards.


Originally, I did not plan to do this and ordered photo announcements with the graduation information on the back. I attached the announcement into the cover with photo corners, making it easy to remove, but it still confused people when they couldn't easily find the necessary information. If I were to do it again, I would probably retype all the information and put it on the other side.


I had the great honor of being asked to make some decorations for the graduation dinner. I decided my theme would be "Let your light shine." I first made a table lantern with a battery operated tea light for each graduate.


I added a tag that I stamped the verse "You are the light of the world. Let your light shine out for all to see." Matthew 5:14, 16. When looking for a stamp with this verse, I found a wonderful stamp company called Our Daily Bread Designs. They have a great variety of Christian stamps as well as dies and other papercrafting supplies. I will be purchasing from them again.

I also added a centerpiece to each graduate's table, using a plastic graduation cup as the base. I created some decorations on skewers, added their name to the front of a graduate tag, and stamped "Let your light shine" on the back of the tag.


That took care of the graduates' tables. I needed a few extra centerpieces for other tables so I filled some mason jars with paper shred and made some paper flowers. I did a print and cut of the verse "Let your light so shine" (from the Silhouette store), and attached two of them together around another battery operated tea light. Red burlap, lace and some washi tape finished off the jar.


Next, I cut out some graduate silhouettes as large as my Cameo would cut, attached them to a skewer that I painted black, set it into a spool also painted black and glued to a square of thick black chipboard. I made a tassel from twine and attached it with a button. These were set on one of the food tables.


I made some little graduation caps to fit on the dollar tree plastic wine glasses, in which I put some mints. The tassel was made up of each graduate's name. At the last minute, I decided it needed something else, so I cut vinyl in a chevron pattern for the bottom.


I loved the big numbers in the Silhouette store with the cutouts for photos. I put a photo of each graduate in the smaller holes, then filled the larger openings with various group photos.


My favorite thing of all was this Instagram sign. I got the idea from my friend Lauren at The Thinking Closet. She even featured my version in a Reader Showcase on her blog.  How awesome is that??  Go check it out here!


It's just too bad that only two people took advantage of it! The one thing I was most excited about turned out to be the biggest fail LOL! Isn't that they way it always is though?

My son was one of 14 graduates from a small Christian school. Each graduate also had to make a memory board and they were all displayed for everyone to see. They were all really creative and lovely! I made name banners for each of their tables.


Graduation was bittersweet. I'm excited for his future but those 18 years sure flew by quickly! I clearly remember his first day of kindergarten. His little sister was devastated when she realized we were leaving him there! I get to do the graduation thing again in 3 more years! :)


 photo BlogSignature_zpsjpf5glhd.png

Saturday, February 14, 2015

Happy Valentine's Day!

I realize I skipped right over Christmas. I made a few things, just nothing I was totally thrilled with! I don't usually do much crafting or decorating for Valentine's Day but I was inspired by some things I saw and decided to give it a whirl.

I bought a really cute Valentine's Day paper pad at Hobby Lobby, and this card was the first thing I made using it.

I originally made it with the intention of sending it to a friend, but later made another one I liked much better and sent it instead.  I just realized that I didn't take a picture of that one.  Boo :'(  Then I saw a video on youtube of someone making a LOVE banner and thought it was so cute that I would use my pretty paper to make one too.  I just "LOVE" the way it turned out!


I was in JoAnn's and saw a chalkboard wallhanging that looked simple enough to make so I had my daughter take a picture of it.  When I was out again sometime later, I thought about that chalkboard and bought a little one at AC Moore to recreate the one I saw at JoAnn's.  I started working on it before looking at the photo again (my daughter was at school and I had forgotten to have her send me the photo.)  The top is the one from JoAnn's and the bottom one (Love One another) is the one I made.
Totally nailed that recreation, don't you think? Maybe I'm not actually as plagiaristic as I think I am! Ha!

My Silhouette Challenge group on Facebook has a themed monthly challenge that I try to participate in. This month's theme was Print and Cut, with a bonus of using hearts.  I wanted to do a little something for my daughter's piano teacher so I made a candy holder and some print and cut stickers for the bottom of Hershey kisses.  I also made a post-it notepad holder and added it with the candy. Cute!
But my favorite thing of all was the card I made for my husband!
The coffee cup was a print and cut from the Silhouette store, so as soon as I saw it, I knew I wanted to use it for the Silhouette Challenge. The phrase originally said "I love you more than CHOCOLATE" but I changed it by cropping the word coffee out of another phrase and replacing chocolate.  I just really love how this turned out!!

One more - I also made my husband a Sharpie mug. I wasn't going to add it here because it didn't turn out very well, but when I opened one of the gifts from him, well, the picture says a thousand words :)


Happy Valentine's Day everyone!


 photo BlogSignature_zpsjpf5glhd.png

Friday, November 21, 2014

Look What You Can Do With Heat Transfer Vinyl!

I wanted to do something nice and unique for the photographer who took  my son's senior pictures. I had already made her two school spirit shirts with glitter vinyl. Since she is just starting out in photography, I figured a little self advertising wouldn't hurt.

I bought a camera strap and camera bag and applied heat transfer glitter vinyl to them.
Isn't that the cutest strap? I got it from Pick Your Plum. They have them occasionally in really cute designs. You can't tell in the picture, but I used black glitter vinyl.

I was worried about whether HTV would work on this bag. The front is a textured vinyl and I didn't know if it would melt from the heat of the iron. I didn't think regular sticky vinyl would stay on because of the texture and the design is kind of small.  I used a small craft iron and took a lot of time and it seemed to work just fine. The bag didn't melt and the transfer felt secure, so I hope it stays on long term! Again, this is black glitter vinyl.


I also added white glitter vinyl to the inside removable bag.  In hindsight, I probably should have used regular vinyl here. The glitter seems to catch a bit on the inside cloth of the main bag when removing/replacing. But, a girl can never have too much glitter, right?

Overall, I was really pleased with the way they turned out.  But wait! There's more! ;) I had bought an extra t-shirt when I made her school shirt, so I decided to use it too.


These shirts from JCPenney are my favorite. They are so soft and stretchy and comfy! On the front I put her logo and on the back a cute saying that I was dying to use on something - seemed fitting!

The best part of it was that she said her husband was impressed with it all too! Men are hard to impress with this crafty stuff, so I consider that a definite success!


 photo BlogSignature_zpsjpf5glhd.png

Thursday, October 9, 2014

World Card Making Day

Saturday, October 4 was World Card Making Day. Since I needed a sympathy card and a wedding card, I decided to make those. I wanted them to be simple, yet elegant.


I found a background that I liked and resized it to fit my premade 4x6 card base. This is the "abstract tudor rose frame" design #51109 in the Silhouette Online Store (now being called the Silhouette Design Store). It actually has a square cutout in the middle that I covered with the ovals. I didn't have any appropriate stamps for the sympathy card, so I did a print and cut with a font on my computer. I cut a scalloped oval just a little bigger to go behind the sentiment oval. Added some adhesive pearls and I love the way it turned out.


I didn't want to make the wedding card exactly the same, so I used adhesive rhinestones on the sentiment and I had a "Congratulations" stamp.

 I really should make cards more often. They come together so quickly and easily and give me such a sense of accomplishment! They sympathy card is in the mail and the wedding card is waiting for the November wedding.  Now I need to make a wedding gift!


 photo BlogSignature_zpsjpf5glhd.png

Tuesday, September 16, 2014

Powder Room Makeover

A few weeks ago, I painted my downstairs half bath. It went from a pastel blue to an aqua color. I had planned to paint it a darker teal color and decorate in teal and white, but when I went to buy the paint, I just couldn't commit to the darker color and chose a lighter one. The actual color is "Jamaica Bay" by Behr and it's a very pretty beachy color. 


I had a gift card to Target so I went to pick out a new rug and hand towels. I still had in mind an aqua/white theme so I picked out a new rug. Then we went an aisle farther and my daughter found a different rug that we both fell in love with. 


When we saw the matching hand towels, I just loved all the colors. They had such a "beachy" feel without being a "beachy" theme, and if you know me, you know my love of all things pink so this was the perfect combination. I put the other rug back (that I didn't "really" like so much anyway) and bought this rug and towels, which became my color inspiration for new wall art. 


I know I'm going to regret having a mainly white rug in there, but it sure is pretty right now. :) So then it was off to my craft closet to make something for the walls to replace the stuff that no longer matched! 

I found this phrase in the Silhouette store and thought it was a good  neutral bathroom phrase. I had a canvas that I had previously painted pink and then never used, so I thought it would look good on that. I cut the words from different colored vinyl, trying to match the colors in the towel as well as I could with the vinyl I had on hand. I didn't have a grey, so instead I used white, and colored the letters with a silver Sharpie.


I'd been wanting to try some stenciling so I found some dahlias in the Silhouette store (inspiration from Pinterest!) and used contact paper as a stencil to paint them on smaller canvases.  It was quite frustrating and took a couple of tries, but I finally got them looking pretty good. And now that I've conquered stenciling, I may never do it again!


I'm still working on some more things to put in there, but for now, I love the colors and the way the wall looks!


Thanks for stopping by! Come back again and see what other crafty things I'm up to!


 photo BlogSignature_zpsjpf5glhd.png

Tuesday, August 19, 2014

Baby Boy Gifts

When my friend told me she was having a baby boy, I knew I wanted to make some onesies and I had plenty of time to do it!  Except he decided to make an entrance 4 weeks early so of course I wasn't finished before he was born. The little guy spent some time in the NICU with breathing issues due to being early, but he's home and doing great, and my baby gifts were waiting for them when they got home (because they live halfway across the country {sad face}).


My friend's oldest daughter is into mustaches, so I had to include a mustache onesie!  The "born in the USA" is a free Silhouette cut file from Create and Babble and the "chick magnet" is a free cut file from The Rhinestone World.


The tie and suspenders is a Silhouette file. I did a print and cut using Square 1 Masterpiece iron on. The sunglasses and sleeve tattoo were also print and cuts on Square 1 I created from images found online.


A few t-shirts for when he is bigger ;)


I had to make a little something for mom too, because she's pretty good at making adorable babies!


I also made a name wall  hanging on a blue painted canvas with red, white and blue vinyl.  This was a download from Silhouette and is recommended to be used as a print and cut...which I didn't realize until after I had started cutting the vinyl.  It was difficult to get together but I think it turned out pretty cute.  Dad is in the Air Force so I added a cute little airplane to the bottom.

Welcome to the world little Coleton!


 photo BlogSignature_zpsjpf5glhd.png