So clearly I'm not too good at this blogging stuff! I've been doing a good bit of crafting, just not blogging about it.
In May, my son graduated from high school. I created some announcement covers and matching thank you cards.
Originally, I did not plan to do this and ordered photo announcements with the graduation information on the back. I attached the announcement into the cover with photo corners, making it easy to remove, but it still confused people when they couldn't easily find the necessary information. If I were to do it again, I would probably retype all the information and put it on the other side.
I had the great honor of being asked to make some decorations for the graduation dinner. I decided my theme would be "Let your light shine." I first made a table lantern with a battery operated tea light for each graduate.
I added a tag that I stamped the verse "You are the light of the world. Let your light shine out for all to see." Matthew 5:14, 16. When looking for a stamp with this verse, I found a wonderful stamp company called Our Daily Bread Designs. They have a great variety of Christian stamps as well as dies and other papercrafting supplies. I will be purchasing from them again.
I also added a centerpiece to each graduate's table, using a plastic graduation cup as the base. I created some decorations on skewers, added their name to the front of a graduate tag, and stamped "Let your light shine" on the back of the tag.
That took care of the graduates' tables. I needed a few extra centerpieces for other tables so I filled some mason jars with paper shred and made some paper flowers. I did a print and cut of the verse "Let your light so shine" (from the Silhouette store), and attached two of them together around another battery operated tea light. Red burlap, lace and some washi tape finished off the jar.
Next, I cut out some graduate silhouettes as large as my Cameo would cut, attached them to a skewer that I painted black, set it into a spool also painted black and glued to a square of thick black chipboard. I made a tassel from twine and attached it with a button. These were set on one of the food tables.
I made some little graduation caps to fit on the dollar tree plastic wine glasses, in which I put some mints. The tassel was made up of each graduate's name. At the last minute, I decided it needed something else, so I cut vinyl in a chevron pattern for the bottom.
I loved the big numbers in the Silhouette store with the cutouts for photos. I put a photo of each graduate in the smaller holes, then filled the larger openings with various group photos.
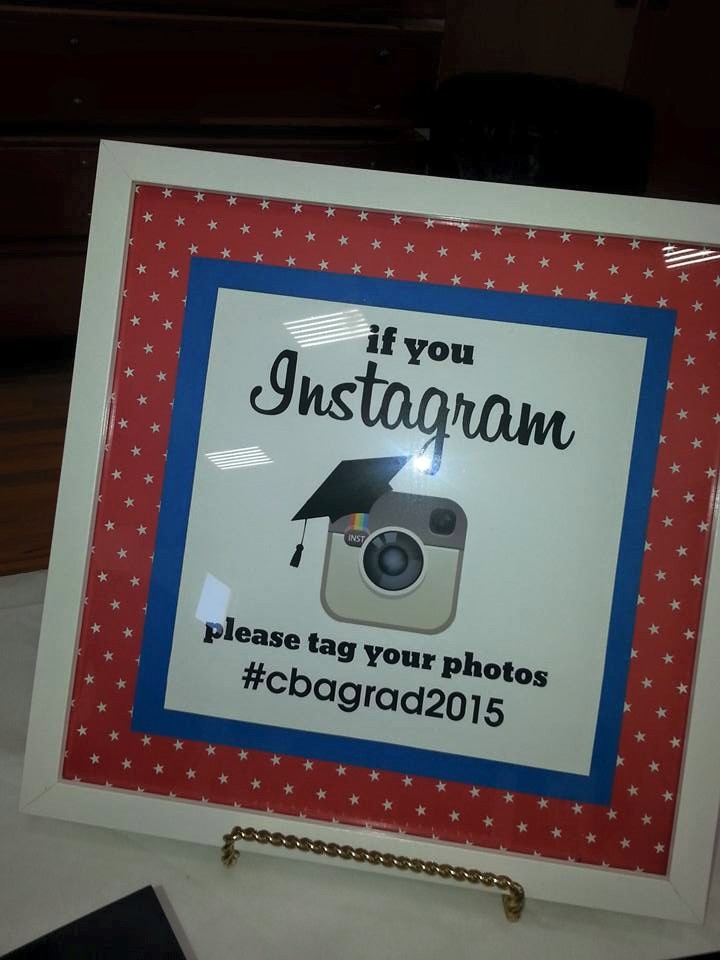
My favorite thing of all was this Instagram sign. I got the idea from my friend Lauren at
The Thinking Closet. She even featured my version in a Reader Showcase on her blog. How awesome is that?? Go check it out
here!
It's just too bad that only two people took advantage of it! The one thing I was most excited about turned out to be the biggest fail LOL! Isn't that they way it always is though?
My son was one of 14 graduates from a small Christian school. Each graduate also had to make a memory board and they were all displayed for everyone to see. They were all really creative and lovely! I made name banners for each of their tables.
Graduation was bittersweet. I'm excited for his future but those 18 years sure flew by quickly! I clearly remember his first day of kindergarten. His little sister was devastated when she realized we were leaving him there! I get to do the graduation thing again in 3 more years! :)